Step One // Install the base of the channel
1. Measuring the size of the channel steel with a ruler, and identifying the channel steel in the corresponding position according to the basic design drawings.
2. Arranging the channel steel of SMC water tank around the periphery first, after make sure that the diagonal line is correct, to fix it by spot welding.
.jpg")
step 1-1: Install the base of the channel
.jpg")
step 1-2: Install the base of the channel
Step Two // Install the base plate
1. The bottom plate of the GRP sectional water tank is screwed and fixed with a rubber strip. Tightening the screws evenly.
2. After the connection of the bottom plate is completed, to button up the base of the channel steel, and then the angle iron is fixed to prevent the bottom plate from moving.
.jpg")
step 2-1: Install the base plate
.jpg")
step 2-2: Install the base plate
Step Three // Install the side plate
1. In the same way as the base plate, screws and strips are used to install auxiliary angle irons at the junction of the tank plate. In addition, it should be noted that the strips must not be interrupted at the junction of the tank board.
2. After the side plates are connected, to make it stand on the bottom plate. After stabilizing, begin to fix the screws and the bottom plate, and then to fix other parts in sequence.
.jpg")
step 3-1: Install the side plate
.jpg")
step 3-2: Install the side plate
Step Four // Install collision angle
1. This is a very important step. Please install it strictly in accordance with the picture.
2. External screws of the collision angle iron are not available for brute force. Using electric wrench to tighten them.
.jpg")
step 4-1: Install collision angle
.jpg")
step 4-2: Install collision angle
Step Five // Install Lacing System
1. Using a lacing board to open the hole in the cross seam of the four plates, and opening the hole with an electric drill.
2. Using the pull bolts to fix the internal lacing boards first. To connect the crossed lacings after all the lacing boards are fixed.
3. After the internal lacing plates are completed, fixing the external lacing plates. Four screws on the external lacing plate should be tightened with a hand wrench.
.jpg")
step 5-1: Install Lacing System
.jpg")
step 5-2: Install Lacing System
Step Six // Install the cover plate
The cover plate should be screwed into one piece and do not need strips for it. When finished, to lift it to the top of the tank and link with the side panels.
.jpg")
step 6-1: Install the cover plate
.jpg")
step 6-2: Install the cover plate
Step Seven // Installation flange
1. According to the customers' requirements, identifying the installation location. Using the flange tube to make the hole position accurately.
2. Opening the hole with a power drill and putting a rubber strip on the flange screw, smearing some glass cement on the flange pipe, and then fix it with screws.

step 7-1: Install flange

step 7-2: Install flange
Step Eight // Install escalator and water level gauge
1. Installing the escalator in the position designated by the customer and fixing it with a ladder clip. The inside ladder can be placed inside the tank directly.
2. Opening the hole in the designated location and then installing the water level meter. Finally, to insert the glass tube.
3. After all the steps are done, the entire tank has been installed completely.

step 8-1: Install escalator water level guage

step 8-2: Install escalator water level gauge

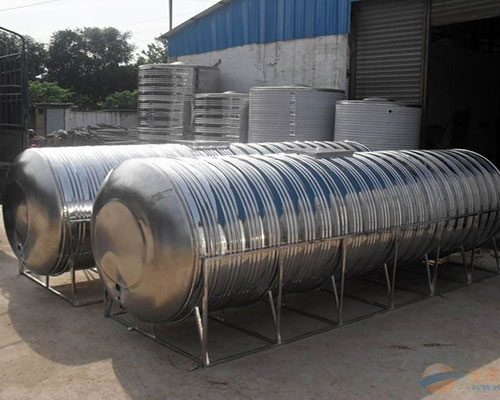
Hot Water Tanks
related posts